By Betty Ruth “Little Reb” Burchfield
Whether you are a doll collector, a doll maker, or a doll restorer, there comes a time when you want to design your own patterns. That seems like a huge task, doesn’t it? But if you have been sewing for some time, you already have the basic knowledge of how a pattern is put together. With these easy pattern-making instructions, all you need are a few simple household supplies. You will also need tracing paper to refine the pattern pieces.
Materials
Roll of paper towels
Straight pins
Felt-tip pen
Extra-fine tip black marker
Pencil
Tape
Scissors
Tracing paper
Drafting tools (optional)
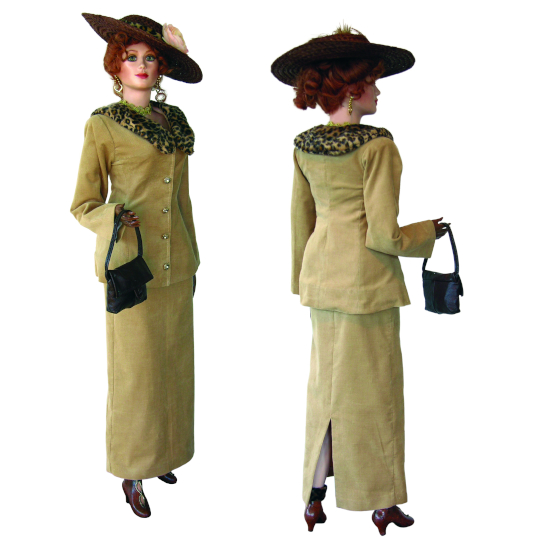
The doll shown here is 38-inch Jessica LaRue, one of the dolls I sculpted. Her outfit is made of corduroy. The jacket has shoulder pads to give it a 1940s look. She has leather-look shoes and gloves, and the classy hat is just a painted straw hat with a faux-fur band to match the suit collar.
Panties
Measure from the waist of the doll to where you want the panties to end on the legs. Mark this measurement on a paper towel. Measure around the widest part (the hips) and mark this on the paper towel. Measure from the waist to the crotch in the front and back, and mark the paper towel. Before you do the sides, get the crotch correct. Pin or baste in place. Note: The back of the panties will come up higher than the front of the panties.
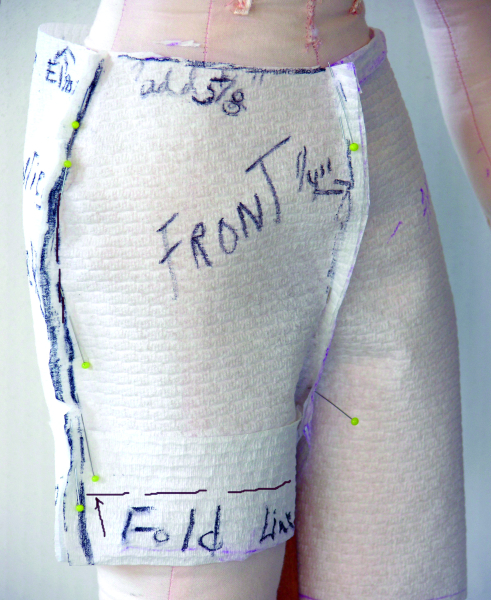
Paper-towel panties, front view.
Pin the paper towel just above the doll’s waistline. Now, pin the sides, trying to make each the same. Note: The back of the panties will be slightly larger; lingerie elastic will pull up this slack. Mark around the seam line of the waist. Mark the fold lines at the legs.
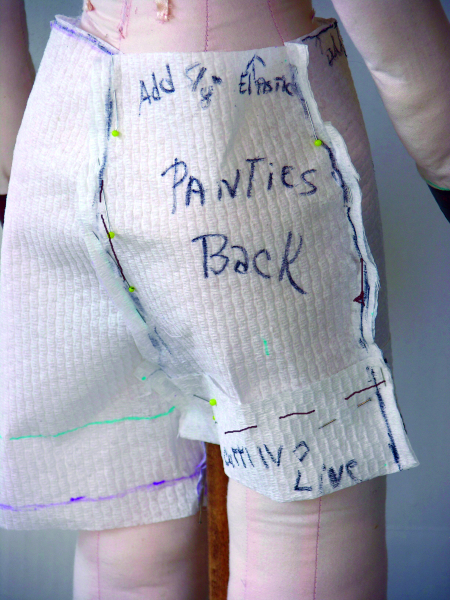
Paper-towel panties, back view.
Make notations on the paper towel such as “fold line,” “add 5/8 inch,” etc. Your seams will all be ¼ inch unless otherwise noted on your pattern and instructions. My notation on the illustration says 5/8 inch, which includes the extra length I will need for the panties to fit around the waist, allowing for a ¼-inch casing for my elastic. With a felt-tip pen, mark all the seams joining each other on the front and back sides of the pattern.
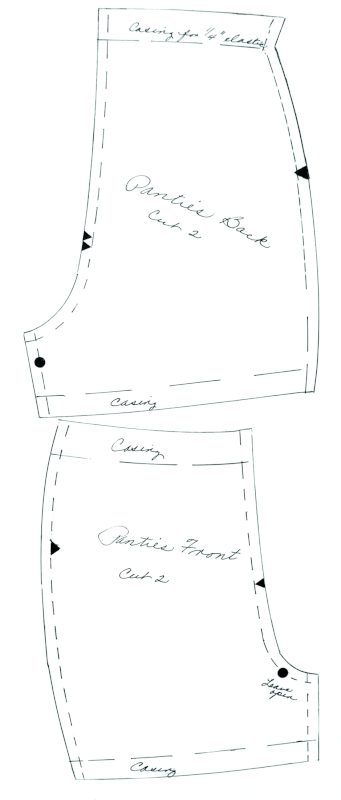
Refined pattern for panties.
To refine the pattern on tracing paper, lightly tape the paper-towel pattern to the back of a piece of tracing paper. With a pencil, trace the seam lines on the outside of the pattern and mark any notations, such as the circles, darts, etc.
Remove the paper-towel pattern and refine the tracing-paper pattern. Add ¼-inch seam allowances, except where you want a casing or different seam. Then, decide what seam allowance you want and measure from the seam line to allow for the extra material. Refine the pattern with an extra-fine black marker. Put the pattern pieces together to mark the notches. Make sure the front matches with the back at the sides.
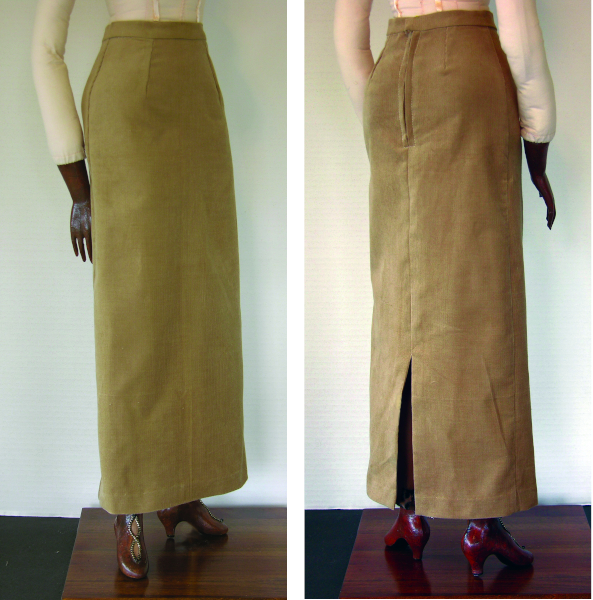
Final skirt, front and back views.
Skirt
Measure the doll from the waist to the point where you want the hem to be. Allow ½ inch for the waist seam and approximately 2 ½ inches for the hem. Next, measure the width of the widest point (the hips in this case).
Tear off enough paper towels for this length and width. Pin the center of the paper towel to the center of the doll’s waist in the front and back. (If doll is all porcelain, tape it to the body.) Pin each side of the skirt to fit the doll; try to get both sides even. Pin a small seam down the back.
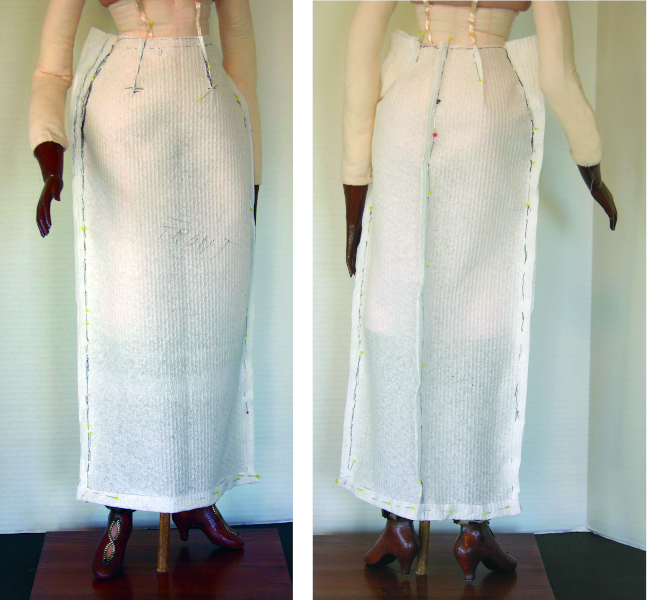
Paper towel skirt pattern, front and back views.
You will notice there is extra material below the waist. Make two darts in the front and two in the back to take up this slack. Using a felt-tip pen, mark around the waist where you want the seam lines to be in the front and back.
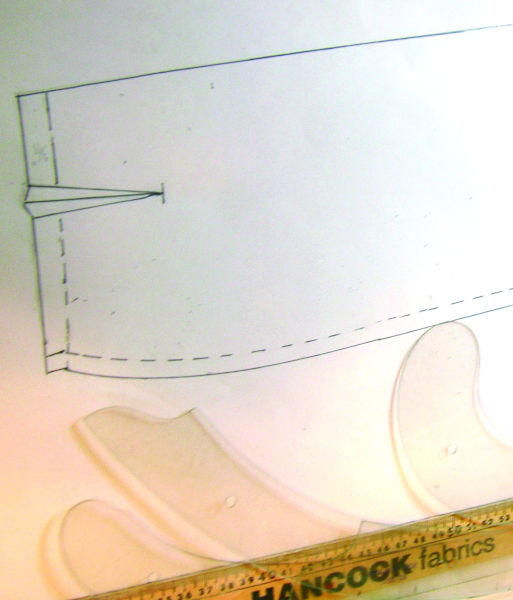
Refining the skirt pattern. The drafting tools shown here make it easier to get a perfect line.
Turn up the hem to where you want it to be. Make notations on the draft, such as “add 5/8-inch seam,” “turn up here for hem,” etc. Measure the waist and add enough for an overlap and for a ¼-inch seam at each end. Make a waistband the width you want. Then refine the pattern on tracing paper. Note: The pattern will be on the fold.
Jacket
The jacket is a bit more intricate. By now, you have mastered fitting paper towels to the doll and refining the pattern pieces.
I chose to put inserts in the sides of the jacket for a smoother fit. You may desire to just put in side seams at first, as that is easier. Don’t forget to put the darts from the side seam to the tip of the bust for a better fit.
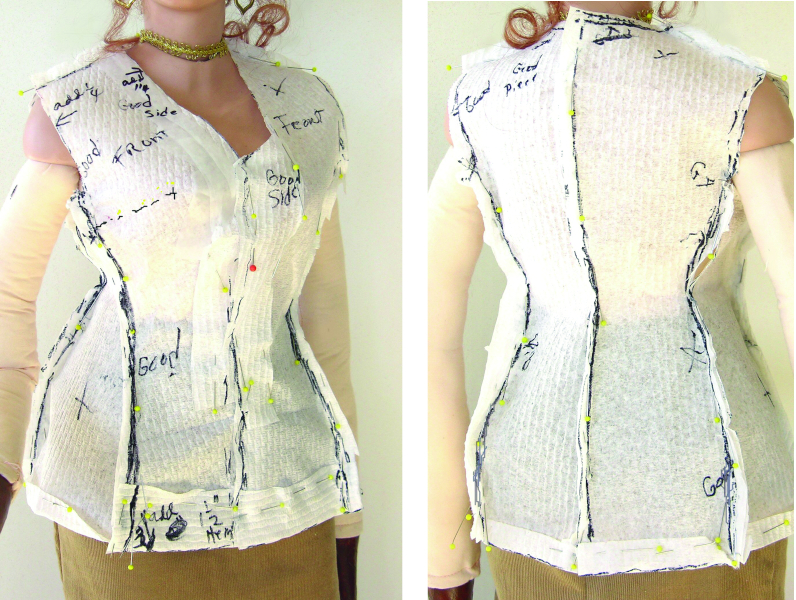
Paper-towel jacket, front and back views.
To get the collar the right size and shape for the neck opening, pin or baste the paper towel pattern at the shoulder seam. Open the shoulder seams and place the front and back flat on a piece of paper towel. Then trace along the edge of the neckline onto the paper towel; add a ¼-inch seam allowance. Draw the collar in the shape you want it to be.
Make the sleeves in this manner: Sew the shoulder seams together and then lay it out flat. Trace the opening. Look at how other patterns of a similar style are shaped at the top. Add a little more width for the seams. Refine the pattern on tracing paper.
I suggest taking all of the refined pattern pieces and testing for fit using inexpensive material such as muslin. The panties should be made from lingerie material, so make the test panties with the same material, as it has a lot of stretch and muslin doesn’t. Make any adjustments as needed to the patterns.


